
Mirchi ka Salan is a delightful gravy that is served with biryani, particularly in Hyderabad. if you asked me to pick one dish, and only one, that stood out to me during my 2.5 years of life in Hyderabad, it would be Mirchi ka Salan. There, I said it, it’s not even the famous Hyderabad Biryani but the underrated chilli based gravy that they serve with the biryani that stole my heart.
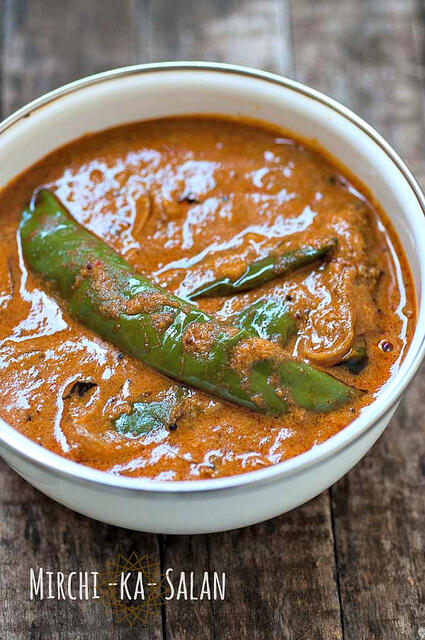
I have tasted it in all kinds of places starting from the roadside biryani stalls to the really fancy restaurants. The wonderful thing about this seemingly humble side dish is that it looks very coy and innocent but is bursting with flavours. It’s spicy, sweet, salty, and a tad bitter all at the same time and holds its own with a dish like the mighty biryani. Also check out my baingan ka salan recipe for a different take on the more popular mirchi ka salan recipe.
I had made Mirchi ka Salan once when I was a beginner cook and at that time, I felt it was amazing (although I do say so myself). Now that my culinary intuitions are much better, I decided to give it another go recently. I referred a bunch of recipes and decided to go with my reading buddy Preethi’s recipe.
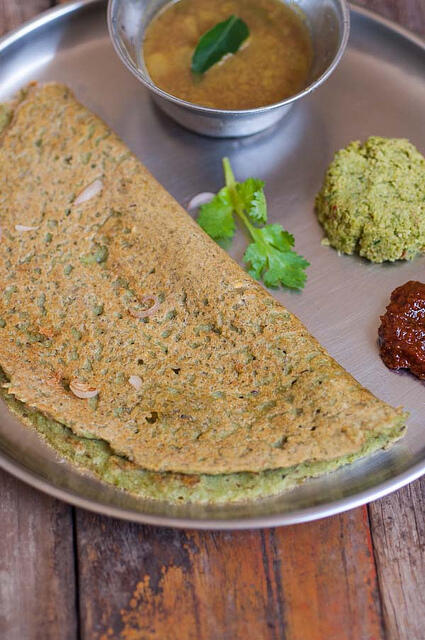
The pleasant surprise was that my Mirchi ka Salan was much thicker than the restaurant version and it went beautifully with plain rice, rotis, and even dosa. Since the gravy stores well for up to a week, this is definitely a win if you like to meal plan and cook ahead.
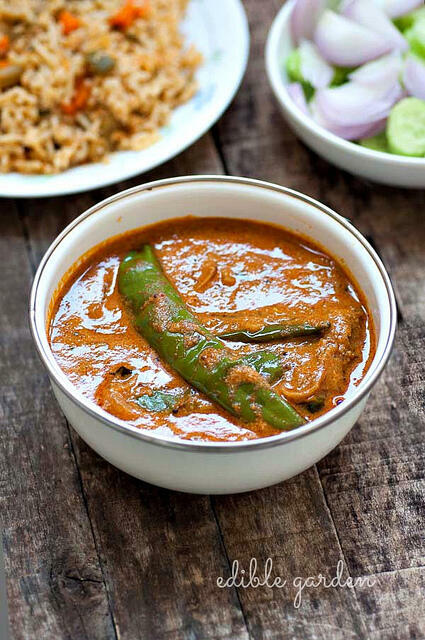
Mirchi ka Salan would go great with a simple Vegetable Biryani, Egg Biryani, Chicken Biryani, and even Vegetable Pulao. Also try with it with chapatis and idli or dosa for a change. Here's a szechuan eggplant recipe if you are just looking for a regular side dish to fried rice or even chapati.
What chillies do you use in mirchi ka salan?
Any large green variety that is less spicy is good enough. Capsicum can be used in a pinch too but it will alter the flavour quite a bit
What is mirchi ka salan gravy made of?
The gravy is mainly peanuts, sesame and some coconut. Some recipes also use poppy seeds to thicken the gravy. The main flavour comes from peanuts. The salan is also a lovely blend of all flavours so you have spice from red and green chillies, sourness from tamarind, bitterness from fenugreek seeds and sweetness from onions and jaggery or sugar that's added. The gravy can be as thick or watery as you like. Add a bit extra oil to make it truly authentic!
Do I need to use coconut and poppy seeds in mirchi ka salan recipe?
The coconut adds a depth in flavour and texture so I'd say don't omit that, although you can definitely make the salan just with peanuts and sesame seeds. Poppy seeds are not something we can buy or use in Singapore and I have always omitted them with not much impact to the taste of salan.
How do I get a deeper colour for my salan?
Use Kashmiri chilli powder! Always the best way. The colour of tamarind will also impact the final dish, so use good quality, soft and darker tamarind extract or paste.
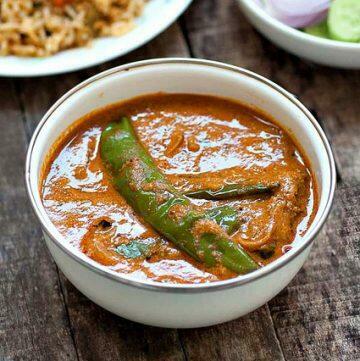
Mirchi Ka Salan Recipe
Ingredients
- 6 large green chillies any variety will do, choose less spicy ones
- 3 tablespoons sesame oil Indian gingelly oil
- 2 tablespoons white sesame seeds
- 2 tablespoons raw peanuts
- 2 tablespoons grated coconut dry, desiccated, or fresh
- 2 cloves garlic
- 1 inch piece of ginger
- 1 teaspoon coriander powder
- ½ teaspoon cumin powder jeera
- ½ teaspoon red chilli powder I use Kashmiri chilli powder for colour and less heat
- ¼ teaspoon black mustard seeds
- ¼ teaspoon fenugreek seeds methi
- ½ cup sliced onions
- ½ cup tamarind extract 2" piece of tamarind soaked in ½ cup water and pulp extracted
- 1 pinch turmeric powder
- 1-2 dry red chillies
- ½ teaspoon jaggery powder or brown sugar
- A few curry leaves
- Salt to taste
Instructions
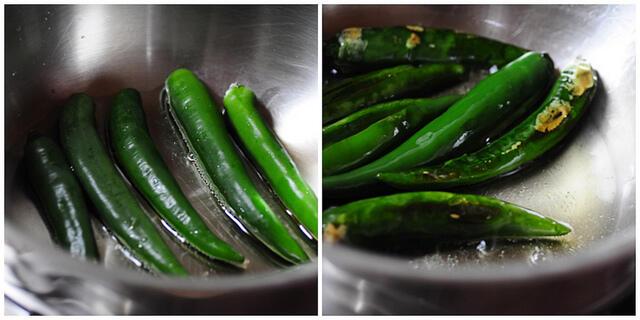
- Wash and pat dry the green chillies
- Heat 2 tablespoons oil in a wide pan and lightly fry the chillies until they are charred and start to look softer
- Drain and set aside on paper towels
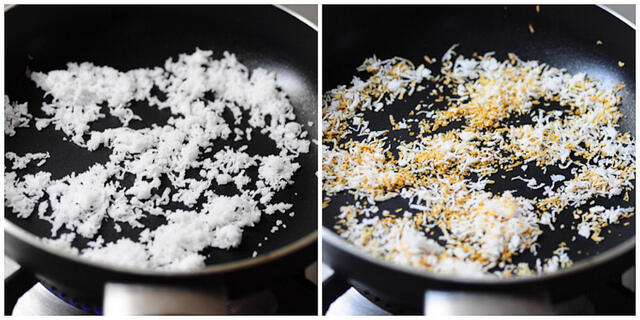
- In a dry pan, roast the coconut until golden brown. Dry or desiccated coconut will brown much faster so keep an eye on it as you fry. Set aside when done
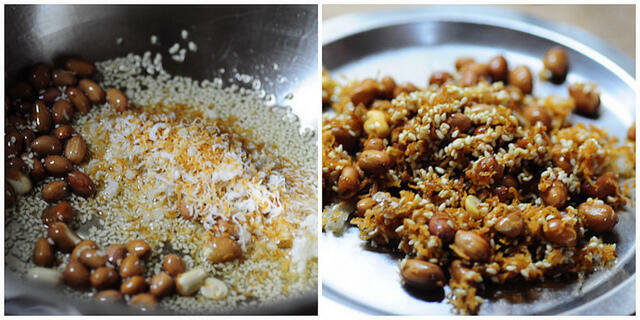
- In the same pan used for the chillies, add the peanuts and roast until a shade darker.
- Then add white sesame seeds and roast until the seeds turn golden brown, taking care not to burn them.
- Once they are done, add the roasted coconut to this and mix well.
- Switch off heat and transfer to a plate to cool.
- In the same pan, add the remaining 1 tablespoon oil
- Add the mustard seeds + fenugreek seeds.
- When the mustards pop, add the sliced onions and red chillies torn into pieces.
- Fry until onions turn golden brown.
- Next, add the curry leaves, ginger, garlic, and turmeric.
- Sautè for 30 seconds to 1 minute or until fragrant.
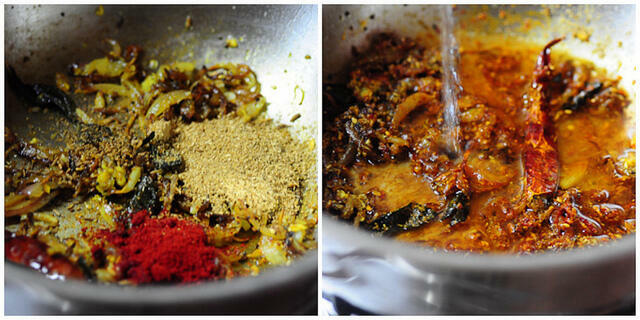
- Then add in the red chilli powder, coriander powder, jeera powder, and some salt.
- Roast for 10 seconds and add 1.5 cups of water. Bring to a boil.
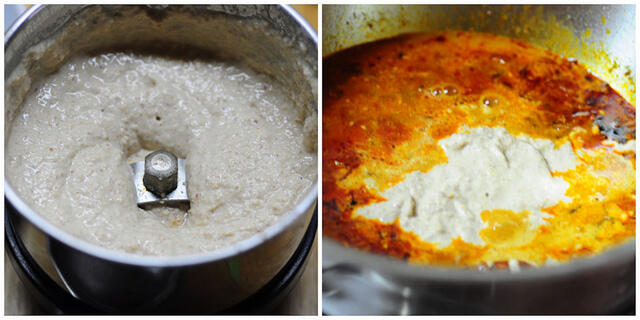
- Meanwhile, grind the roasted coconut + sesame + peanut mixture with some water to a smooth paste.
- Add it to the simmering pan above and mix well.
- Continue to cook on a low flame.
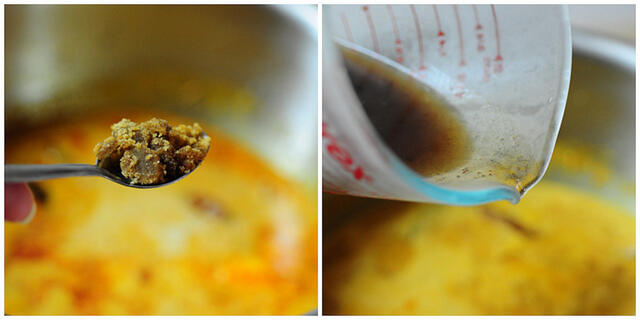
- When the mixture is a bit thicker and simmering, add the jaggery and the tamarind
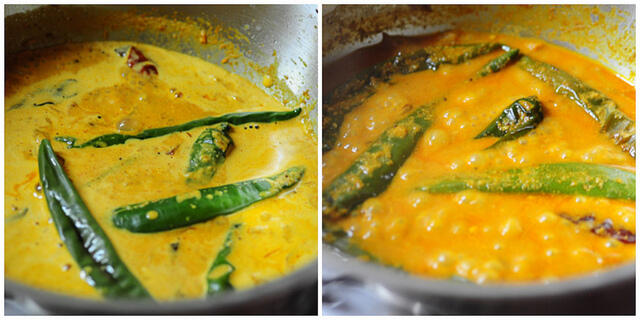
- Mix well and add the green chillies we had sautéed and set aside.
- Cook covered on a low flame for 5-7 mins until the green chillies are soft. Add more salt if required.
- Simmer until the oil separates in the gravy
- If you find that the mixture is too watery, you can simmer longer, and if it’s too thick, add more water or tamarind water as required. How much you want to cook it down is up to your preference. I like it on the thicker side so I cooked it down a bit.
Notes
Step by Step Pictures to Make Mirchi Ka Salan
Wash and pat dry the chillies. Heat a pain with 2 tablespoons of oil and lightly fry the chillies. Set aside.
In a separate dry skillet or pan, dry roast the coconut until golden brown, taking care not to burn it. Set aside when done.
In the same pan used for the dry chillies, roast the peanuts until a shade darker and add the sesame seeds and roast them. Take care to keep heat low and not burn anything. Once done, turn off heat and add the roasted coconut. Mix everything well, drain, and set aside.
In the same pan (we like to minimise washing, remember?), add the remaining 1 tablespoon oil and the mustard seeds+ fenugreek seeds.
When the mustards pop, add the sliced onions and red chilli torn into half. Fry until onions turn golden brown.
Next, add the curry leaves, ginger, garlic, and turmeric. Sautè for 30 seconds until fragrant

Then add the red chilli powder, coriander powder, jeera powder, and some salt. Roast for 10 seconds and add 2 cups of water. Bring to a slow boil.
Meanwhile, grind the roasted coconut + sesame + peanut mixture with some water to a smooth paste. Add it to the simmering curry and mix well. Continue to cook on a low flame.
When the mixture is a bit thicker and simmering, add the jaggery and the tamarind extract dissolved in ½ cup water.
Mix well and add the green chillies we had sautéed and set aside. Cook covered on a low flame for 5-7 mins until the green chillies are soft. Add more salt if required.
If you find that the mixture is too watery, you can simmer longer, and if it’s too thick, add more water or tamarind water as required. How much you want to cook it down is up to your preference. I like it on the thicker side so I cooked it down a bit.
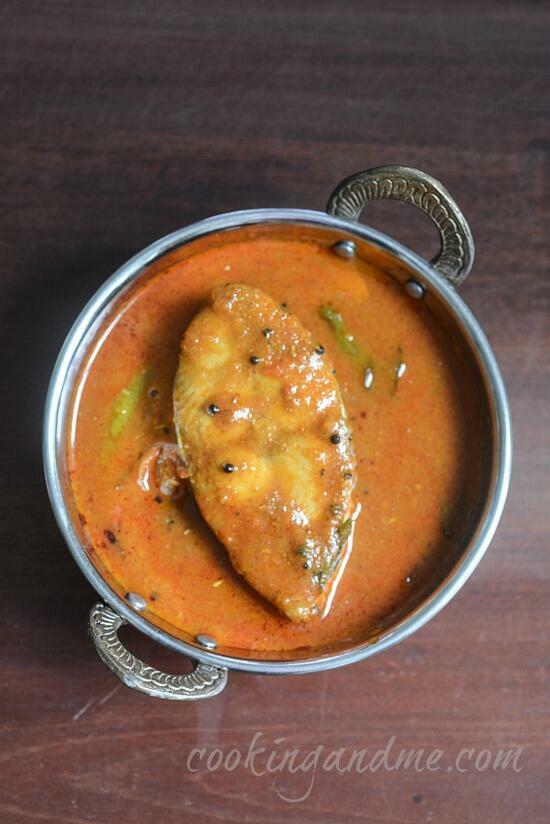
Enjoy mirchi ka salan with some biryani!

Sujatha Rosary
Fantastic recipe… followed it to the T and LO behold… was rewarded with such aroma and flavour that is unmatchable. Thank you so very much for sharing such a simple and flavour packed mirchi ka Salam recipe.
nags
so kind, thank you
Murali
Made multiple times and got right taste every single time due to easy to follow details. Thanks a lot for sharing!
nags
thank you . glad you like my mirchi ka salan recipe
Boyan Minchev
This dish is amazing, Mirchi ka Salan is definitely one of my favorite recipes now. Thank you for sharing with us.
Megha
Thank you for the wonderful recipe, I made it multiple times and it came out deliciously every time!
nags
thank you Megha!
Venkat
Thanks for this amazing recipe - made it today and it turned out splendid! And I absolutely agree on you picking this dish as the one that really stands out among Hyderabadi dishes..
nags
thank you venkat!