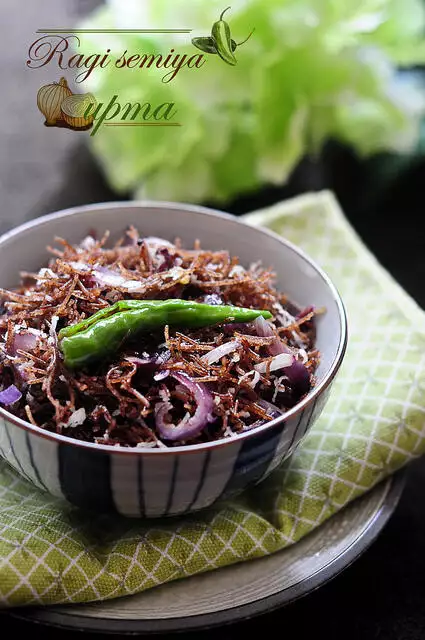
Although I took pictures when amma was preparing the ragi semiya upma, they didn’t turn out great. I am always on vacation mode when in Kottayam and feel lazy taking step by step pics. I’d much rather sit on the high kitchen counter, dangling my feet, drinking hot tea, and generally not caring about anything going on around me. There are few exceptions to this and the day the ragi semiya upma was made, it wasn’t one of them.
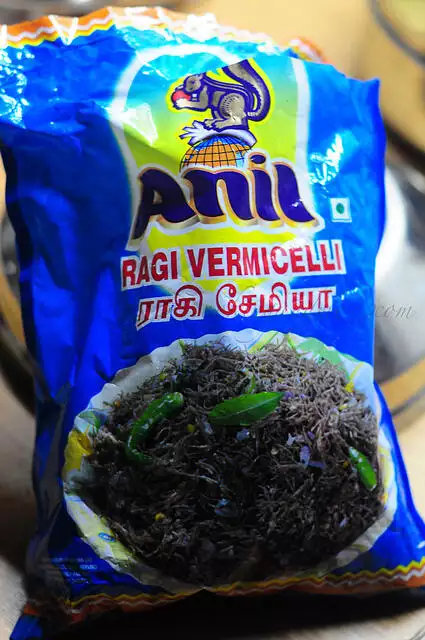
So I did the next best thing and brought back a packet of Anil Ragi Vermicelli to Singapore. This is the brand my mom swears by and trust me, she has tried all of them. It’s not easily available in Kerala but you can find it everywhere in Tamil Nadu.
If you love upma recipes, then check out idli upma recipe, vegetable rava upma, masala bread upma and vegetable dalia upma,
Ragi Semiya Upma (Vermicelli Upma) Recipe
Preparation time: 5 minutes
Cooking time: 25 minutes
Serves 2
Ingredients:
2 cups of ragi semiya (vermicelli)
1 small onion, sliced
3-4 green chillies
1/3 cup of grated coconut (optional but recommended)
2 tsp of oil
1/4 tsp of mustard seeds
1/4 tsp of split urad dal (ulutham paruppu)
1/2 tsp of grated ginger
Salt to taste
How to make Semiya Upma:
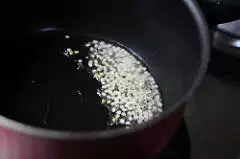
1. Heat the oil in a pan and add the mustard seeds. Whey they pop, add the urad dal and fry until golden brown.
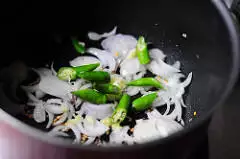
2. Next, add the sliced onion, ginger, and green chillies and fry until the onions turn soft and pink. Don’t fry them too much; it tastes great in the upma with a little bit of crunch.
3. Once the onions are sort of done, add the ragi semiya. Mix well and add salt.
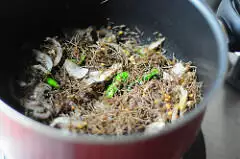
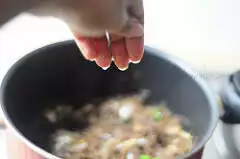
Now, sprinkle about 1/4 cup water on this mixture. Mix well. Continue this with little water until the ragi is cooked. This will take about 12 minutes or so depending on how much water you add. Take care not to add too much because ragi semiya will cook to a mush very quickly and become yuck. Sprinkle water a little at a time, keep stirring, and let it cook evenly
(PS: it was very hard to take a picture with one hand of me sprinkling water).
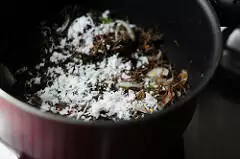
4. When the vermicelli is cooked soft and there’s no extra water remaining in the upma, add the grated coconut. Mix well and heat through. Adjust salt.
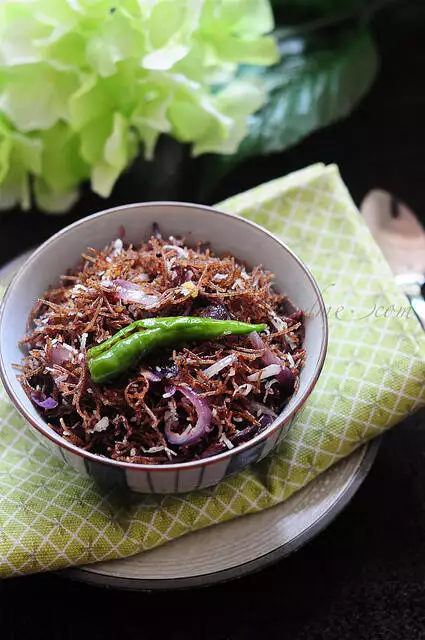
Serve hot with coconut chutney. If you prefer your upma sweet, you can sprinkle some sugar on it and eat with a ripe banana. Either ways, it tastes great. Ragi vermicelli has a chewy texture that I absolutely love!
Note: the ragi vermicelli packet advices cooking it on steam. I haven’t tried that since this method I’ve detailed above is easier but amma says steaming will result in much softer vermicelli upma. If you want to try it, rinse the ragi semiya in some water and transfer to a steamer. Steam for about 5-6 mins and then use as above, skipping the sprinkling-water step.
The text art on the first pic of ragi semiya upma is by Sindhu.

Thank you for this method of preparation of ragi seviyaan rather than the soaking and steaming method. I have been thinking of making it this way but wasn’t sure how much water i would have to add. I have made it the soaking and steaming way but they get gluggy though tasty. My mother in law made wheat seviyaan this method.
yes there’s some trial and error involved. have to sprinkle water until the ragi semiya gets cooked and soft 🙂
Thanks Nags. I made it and it was so easy and quick. You are the first one who has given this recipe without the soaking and steaming method. Looks and tastes great.
Ooohh..I found this too in my indian store and made it a few weeks ago – looks gorgeous!
mm me too like more ragi semiya (vermicelli) this is my spouse favorite dish for break fast 🙂
I bought a packet of Anil Ragi vermicelli a month back after seeing your recipe. Yesterday, I tried this out for dinner and it came out well. I followed your recipe to the 'T' and didn't cook the way it was mentioned on the pack as it required more work as well. My folks at home were all praise for this. Thanks to you.
I tried this recipe today, felt it dry to eat this alone without chutney.
Being a bachelor, I don't have a mixie, hence no chutney 🙁
Though, I can try it with sambar – but the quickie advantage of the recipe goes away!
Additional note from my grandma:
To make it taste sour, you can add lemon (as reqd.) at the end, if salt is used instead of sugar.
good point. but you can eat it on it's own for sure. i think it was dry because either you didn't add enough water while cooking (which is the more common issue) or, you didn't add enough oil 🙂
Great tip from your grandmom! thanks for that.
Healthy and yummy!