
I don’t own a grill. The grill where you can do your barbeques and make paneer tikka and garlic bread? Yeah, I don’t have that. Not even an anti-social sized one that helps me make portions enough for two. And before you ask, no, my microwave does not come with a grill.
But, does that stop me from grilling? Hell no! Being a self-confessed eggplant lover, how can I not grill it and make those yummy grilled eggplant recipes?
So I got an eggplant one Saturday.
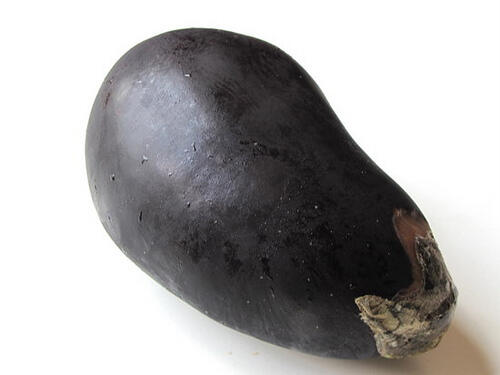
It was nice and fresh and fat when I bought it on this particular Saturday. Unfortunately, I didn’t use it for a whole week and when I took it out the next Saturday morning, it had slightly begun to wilt and rot at the stalk. Just slightly though.
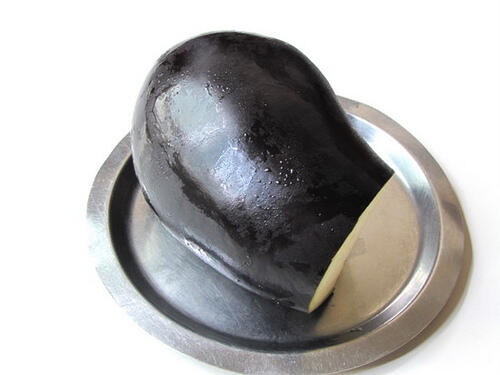
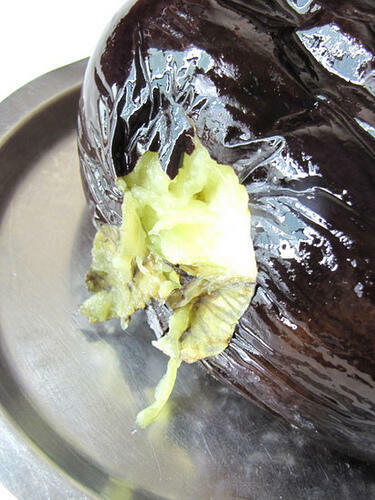
That’s ok. Just chop off a bit from the stalk part and place it on a plate.
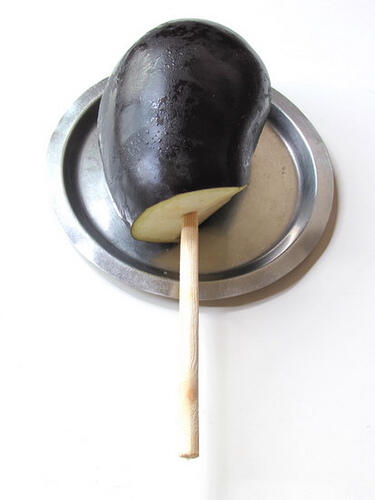
Stick a thick wooden skewer or slim spoon or something similar through the middle of the cut portion.
Take 1 tsp oil and coat the eggplant well. Go on, don’t be a wuss and use your hand to do the oil massage.
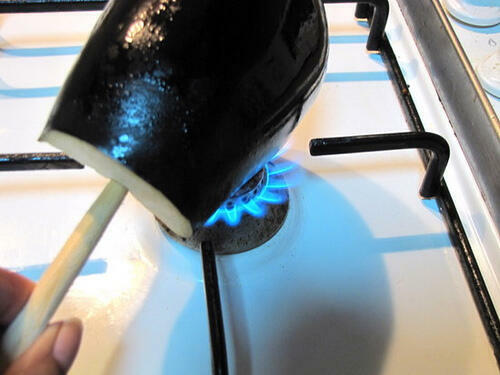
Switch on your stove and keep it on low fire. Hold the wooden skewer firmly and place the oiled eggplant near the fire. Keep rotating slowly making sure all the sides get even heat.
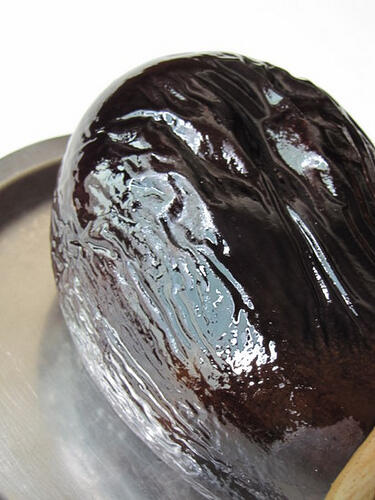
The skin will being to shrivel and the skin starts getting charred. Make sure no sides burn by evenly distributing the heat.
Place on a plate and let it cool a bit.
Peel the charred skin and remove completely. The resulting eggplant meat will be soft, semi-cooked and very fragrant because of the stove-top grilling.
We can make a bunch of interesting stuff with grilled eggplant. Watch this space for the recipes 🙂
Good! am going to give this in my blog's how to link.. 🙂
Nice pictures Nag..I usually roast with the help of my fork inserted ….will remember this tip while roasting my brinjal next time:)
Even I prepared the eggplant for begun bharta in a similar way. Once I tried to grill it in the MW, and it was awful, the egg plant got totally dried up, my thick and healthy looking aubergine turned to a thin and dried up one 🙁
The step by step pictures are great. Could you do one like this for making white sauce?
Nags – Looks awesome! I love the wuss part and I'm with you on that!
Perfect for Baingan Bharta! Love it!
Your step by step pictures and notes are awesome 🙂
I use the same method to grill the eggplant but keep the stalk and crown intact. I also line the stove with aluminium foil to save the oil that seeps out and use it when making Bhaingan Bhartha – flavors it better 🙂
We don't even have a gas stove here (it's electric range) so I broil it in the oven. Apply oil and cut it in half. Place the skin side down on a baking sheet lined with aluminum foil and spray some oil on the open side too. Bake it at 350 for 25-30 minutes and then broil it for 5 minutes to get that black charred appearance. I do this when I'm baking something else in the oven. So 2 in 1. Then use a spoon to just scoop the pulp out.
wow very nice…you step by step photo instructions are awesome…ur efforts shoul be appreciated…Great
I don't use a skewer either…..never thought of it….and never got burnt either.
oh this is a regular in the house without the skewer and mostly get transformed into bharta