
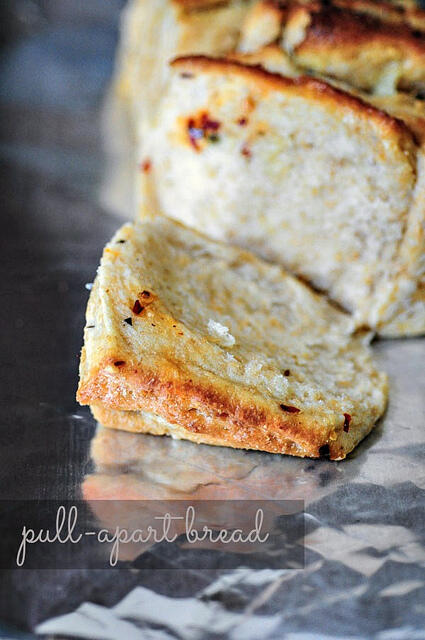
Learn how to make an eggless pull-apart bread with herb and cheese as optional fillings. Pull-apart bread is a welcome change to the usual breads we bake.
Pull-apart bread is essentially bread that can be pulled apart in pieces rather than having to cut it. The advantage is that you can use different fillings between these layers and add tons of flavour to your bread. I have been meaning to bake a pull-apart bread for ages. Since the garlic pull-apart rolls always turn out so well, I default to that recipe whenever I need to bake bread these days. I have tried various fillings using that same recipe (check the pesto-pull-apart rolls) and it's always turned out great for me.
However, this is a different dough recipe which involves butter and garlic in it. What's not to love? I find that I always cook and bake better as part of a group so although it was a tad too late to join, I am a part of the We Knead to Bake group started off by Aparna of My Diverse Kitchen. The goal is to bake 12 breads this year, one per month.
Pull-apart bread was the chosen bake for January and while I am quite late to the party, I wanted to make sure I bake all 12 if I can help it. Since we have a long weekend in Singapore, I managed to get this done over 2 days and also took it along to a friend's place for brunch on Sunday.

Eggless Basil Cheese Pull-Apart Bread Recipe
Preparation time: 1 hour 30 minutes
Cooking time: 30 minutes
Makes one 9" x 5" loaf
Recipe source: Aparna
Ingredients:
3 cups of all purpose flour (I used wholemeal flour)
1 teaspoon of sugar
2 teaspoon of yeast (instant or active dry - I use and recommend Fleischmann's)
½ cup of warm milk
1 teaspoon of salt
25 gm of butter, at room temperature
1 teaspoon of garlic paste or finely minced garlic
¾ cup of milk, at room temperature
For filling:
20 gm of melted butter
2 teaspoon of dried basil (or any herb)
1 teaspoon of crushed cumin seeds
1 teaspoon of red chilli flakes
½ cup of grated cheese (I used a mix of cheddar and mozzarella)
Method of Preparation:
1. Mix the warm milk, sugar, and yeast. Set aside for 5-10 mins until frothy.
2. Meanwhile, in a stand mixer bowl attached with the dough hook, mix the flour, salt, garlic, and butter on low speed. Add the frothed yeast mixture to this and mix again on low speed. Of course, you can do the kneading by hand too.
3. Add the ¾ cup milk and knead further until a soft slightly sticky dough takes shape. Knead for about 3 mins.
4. Shape into a ball as much as possible and turn into a well-oiled (with olive oil) bowl. Turn to coat the dough and wrap with cling-film. Set aside for about 1.5 hours. I made the dough around 8pm in the night and refrigerated it overnight.
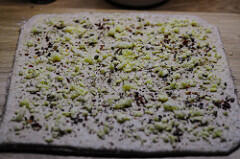
5. Once risen, punch down the dough and roll on a floured surface into a large, roughly 12"x12" square. Brush with melted butter.
6. Sprinkle the cumin, chilli flakes, cheese, and dried basil. Lightly roll with the rolling pin so the filling gets embedded a bit into the dough.
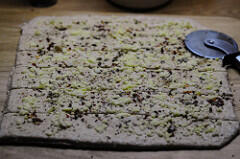
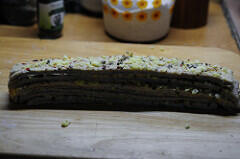
7. Cut into 6 strips and stack on top of each other, filling side on top.
8. Cut into further 6-7 stacks and arrange cut side down in a well-greased loaf pan.
9. Cover with a clean, wet towel and let it rise for an hour.
10. Pre-heat oven to 350F/180C and bake for 25-30 mins until golden brown.
11. As soon as out of the oven, brush the hot bread with milk generously and let it cool down before serving.
Note: you can use any filling of your choice, keep the basic bread recipe the same
Step by Step Pictures of Making Pull-Apart Bread:
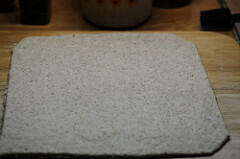
- Make the dough and set aside for 1.5 hours or refrigerate overnight.
- Roll the risen dough into a large square. (Step 5 from above recipe steps). I am not good at rolling out anything into a pre-defined shape so I trimmed the edges and used that dough to make 2 whole meal buns.
- Brush with melted butter. You can also use a spoon for this, of course.
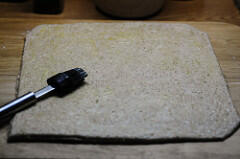
- Add the filling on top and gently press with the rolling pin.
- Cut into 6 strips of equal width.
- Stack them with the filling side on top.
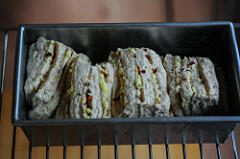
- Cut further into 6-7 pieces and arrange in a greased loaf pan, cut side down.
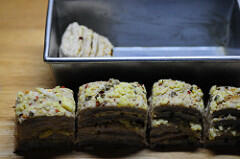
- It's ok if al the pieces don't fit, you can bake them separately later.
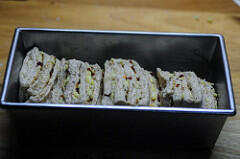
- Cover with a clean wet towel (or cling-wrap) and let it rise for an hour.
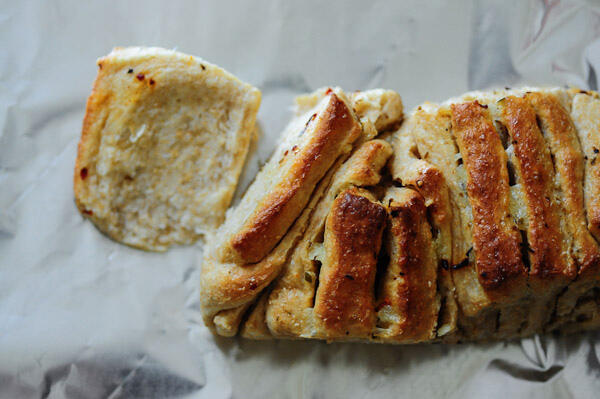
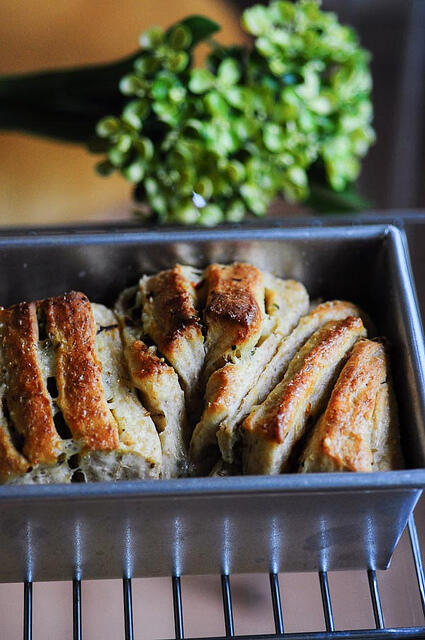
- Bake at 350F/180C for about 30 mins. Brush with milk as soon as it's out of the oven.
Ann Sam
I tried this today. That was mind blowing for me. I fancy the baking of bread. Garlic breads were my favorites. I tried different recipe and this was the best of all. I totally loved the bread. Esp everyone at home loved it. Yummy!! delicious!! Thanks for this recipe. Do post more of bread recipes.
Ann Sam
Hi Nagalakshmi, I tried this today. It is so lovely to look at it. Yummy to eat it. I'm a big fan of garlic breads. Was trying different recipe. I loved this the best. May be I'd be making it once in a week now in addition to the whole wheat bread I bake. Thanks so much for this lovely recipe.
Nic
Your blog is lovely, I was looking for something to do with half a bottle gourd I've been given and now I have some ideas! Is it possible to follow your blog by email?
Anonymous
look yummy....will surely try it...but can i substitute butter with olive oil?
Nagalakshmi V
yes, olive oil should work as a substitute for butter in this pull-apart bread recipe. let me know if you try? 🙂
Maya Mathew
Is whole meal flour same as the wheat flour? Recipe looks simple and yum and surely going to tryout for todays dinner
Nagalakshmi V
no it's not but if you have the whole wheat pastry flour (not atta or chapati flour), then use it. otherwise, use maida or all purpose flour
Maya Mathew
ok thanks
Anonymous
The bread looks amazing 🙂 Am gonna try it.
How do you store the dough in the fridge after the first rise? Last time I put the dough in a ziploc bag and then in a container with a lid. But the dough tore the ziploc bag and popped out?
Nagalakshmi V
never use ziploc since it will trap the air the dough releases and so the bursting. try a large oiled bowl and cover with clingwrap
Anonymous
Thanks. Will try it out next time.
Vijayalakshmi Dharmaraj
wow superb... have bookmarked it...
nilanjana majumdar
Love the simplicity… Can’t decide if I prefer the recipe or the images best and these look *so* scrumptious!
Padma Srita Chillarige
Looks totally yummy!!! Trying this today!
Do you have any ideas for substituting yeast. I am afraid I've none with me and I can't go buy it right away!
Thank you in advance! 🙂
I am unable to pin it to pinterest though! 🙁
Padma Srita Chillarige
Looks fabulous! I want to pin it but somehow pinterest doesn't seem to accept pins 🙁