
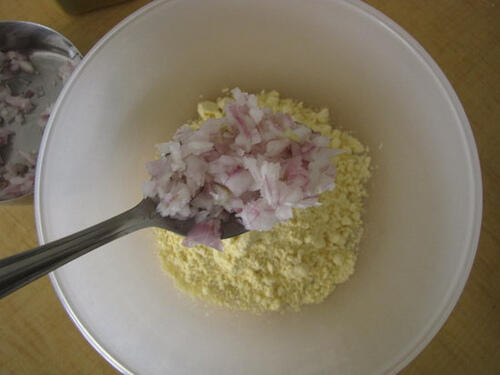
 Take 1.5 cups of besan in a bowl.

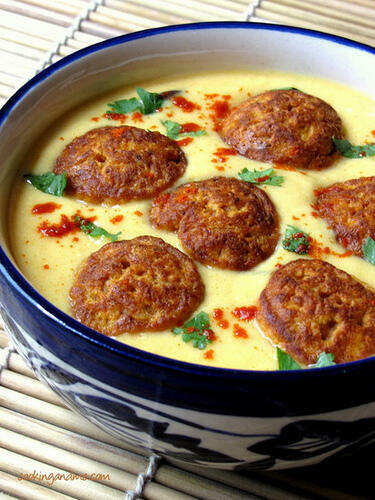
Punjabi Khadi Pakora RecipeSource: Nita Mehta’s Punjabi RecipesServes: 4 as a sidePreparation time: 45 minsFor the Khadi:
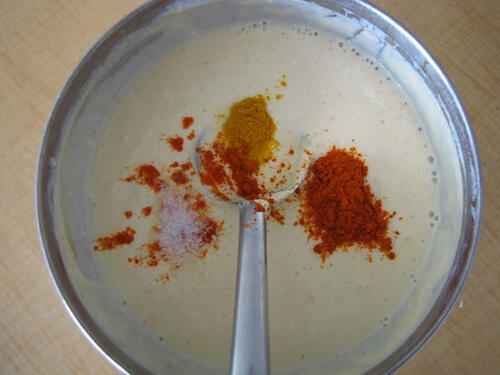
2 cups curd / plain yogurt
1 cup water
1/3 cup besan / kadala maavu / gram flour
1/2 tsp turmeric powder
1 tsp red chilly powderFor tempering:
1 red chilly, broken into half
1 tsp jeera
2 tsp oil
SaltFor the Pakoras:
1.5 cups besan / kadala maavu / gram flour
1 onion, finely chopped
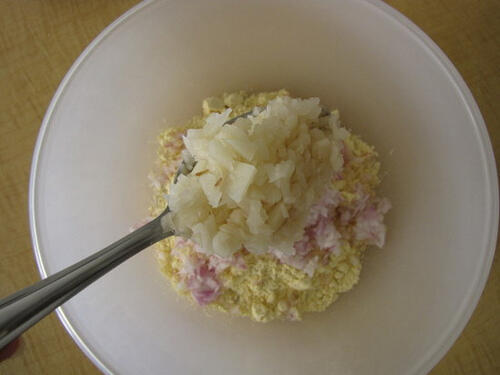
1 potato, finaly chopped
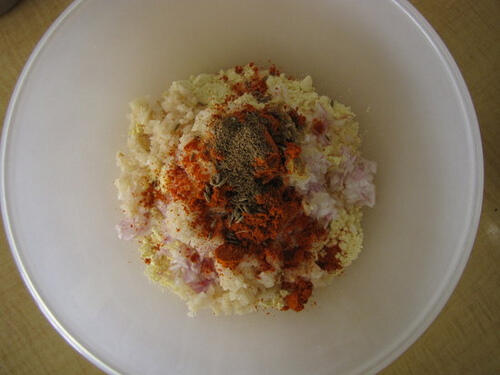
1 tsp red chilly powder
1 tsp jeera
A pinch of hing
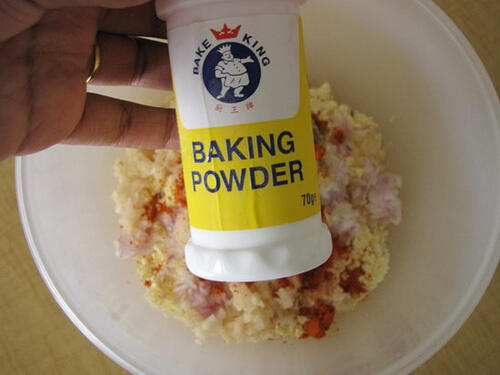
1/2 tsp baking powder
Salt
1 cup waterHow to Make Punjabi Kadhi Pakora:
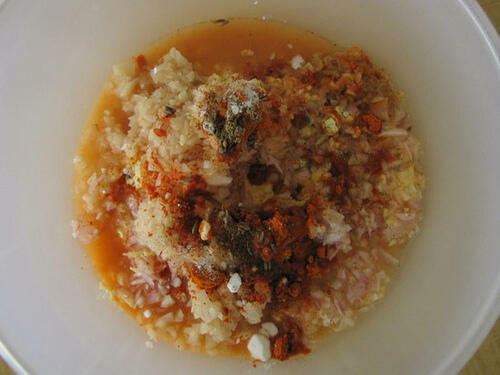
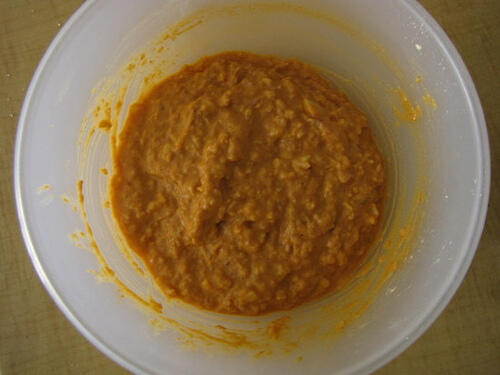
1. Mix the ingredients for the pakoras to form a batter. The consistency should be that of bajjis, not too loose.
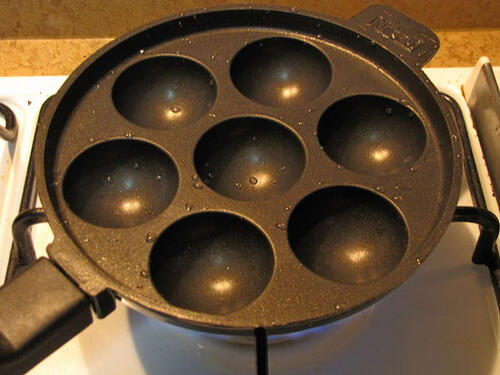
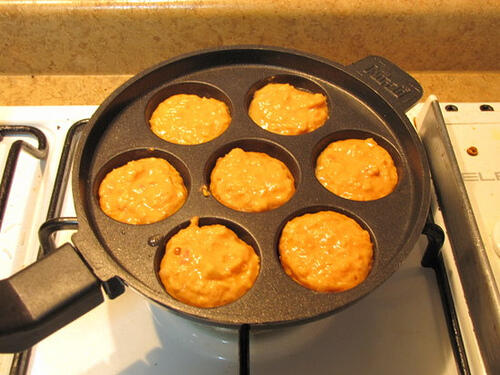
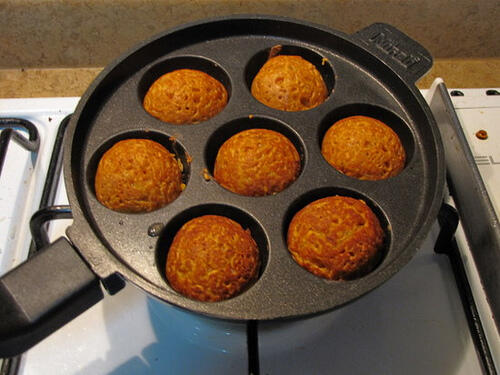
2. Deep fry the pakoras in hot oil or use a paniyaram chatti / aebleskiver pan. This should help reduce the usage of oil and give you uniformly shaped pakoras.
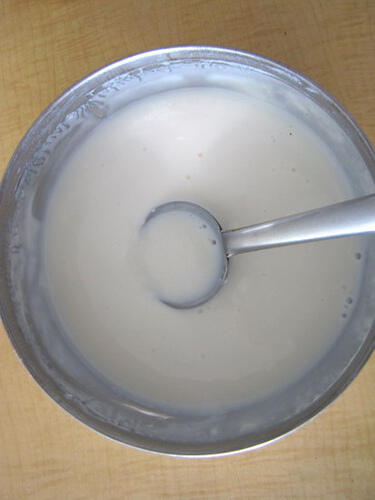
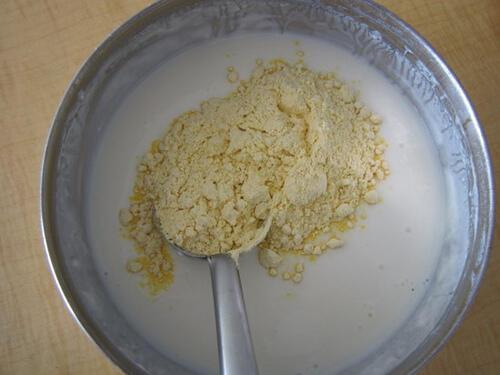
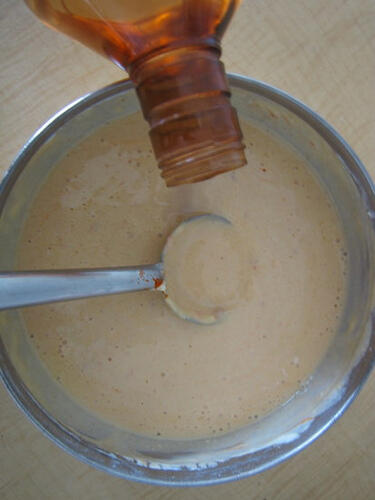
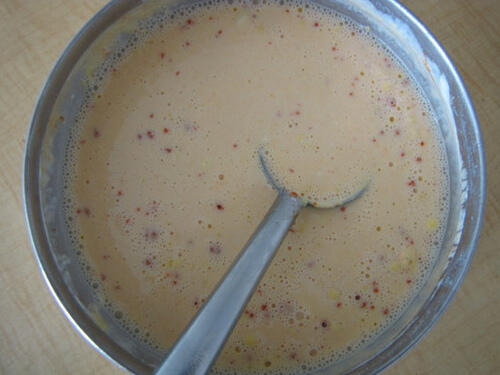
Set aside.3. Beat the curd well. Add besan and other ingredients and beat well.
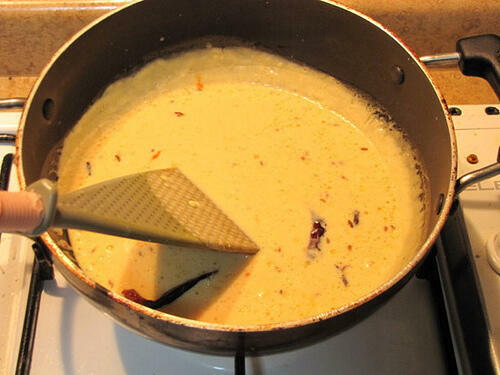
4. Heat oil and add the jeera and halved red chilly. When the jeera splutters and turns brown, lower heat to minimum and add the curd mixture. Bring to boil stirring continuously. After 5 mins, remove from fire.
5. When you are ready to serve the kadhi, add the dumplings, mix once through and serve.
Garnish with chopped coriander leaves and serve with chapatis / roti.
I tried your recipe and it turned out wonderful! It really fulfilled that kadhi craving I was getting- and my mother lives too far away to have her make it for me 🙁 Loved the step-by-step instructions…. thanks so much for making me feel like I'm back at Mummy's house 🙂
thanks for the step by step cooking….. makes better understanding. love your dishes. they look yummy and tasty
Great recipe ! low cal recipe using appa chatti is simply amazing . Tried it , and we love it .. can't wait to try your other recipes !
Anshika, one batch takes anywhere between 4-6 mins to cook, depending on your appam pan, heat and the size of your pakodas 🙂 let me know if you try the khadi pakoda recipe!
Hi I m new to ur site jus get alnd here luking something different for weekends . The pictorial step by step procedure is really awesome and helpful
Its very creative to use appam stand for pakoras . Can u tell me in how much time these pakoras take to cook
To use the paniyaram pan, heat it first, add 1/4 tsp oil in each hole and when the oil is hot, add the batter in little bits until each hole is almost full. Once one side has browned, flip it over within its same hole. Please don't flip the pan over, the food will spill over!
Hi! I was wondering, how do you use that pan? Do you have to flip them over after a few minutes? Thank you for your beautiful recipes and pictures!
That's such a lovely tip for the khadi pakoda recipe, Vidya 🙂 Thanks a lot!
Hi Nags!! M ur regular reader..
Jus a suggestion.. I add grated ginger(2" sized) to the yogurt mixture..As some dislike the raw taste of the besan and curd, ginger gives khadi a lovely flavor.. btw luv all ur pictorials.. keep up d good wrk :o)